
Delightfully Designing is finally live and I’m so excited!
I’m planning on teaching you, amazing entrepreneurs, how to build a brand + website you love.
After years of developing websites for clients, I realized that my favorite part of the process, is the beginning. I love figuring out what a business is all about, what the client’s goals are and what they envision for their brand. Coming up with a visual representation of this is what I love to do! So I want to take this love of branding and show you how to do it successfully for your business.
As you can see, I’m growing this brand too. I’m right there with you and I want to use my very first post to show you how you can build a site in less than 3 weeks!
This is usually one of the most difficult steps for a business owner. One that either has to be hired out and can take months or they attempt themselves with significant frustration (and might still take months anyway). So here’s how I was able to get my site up in 3 weeks.
Week 1
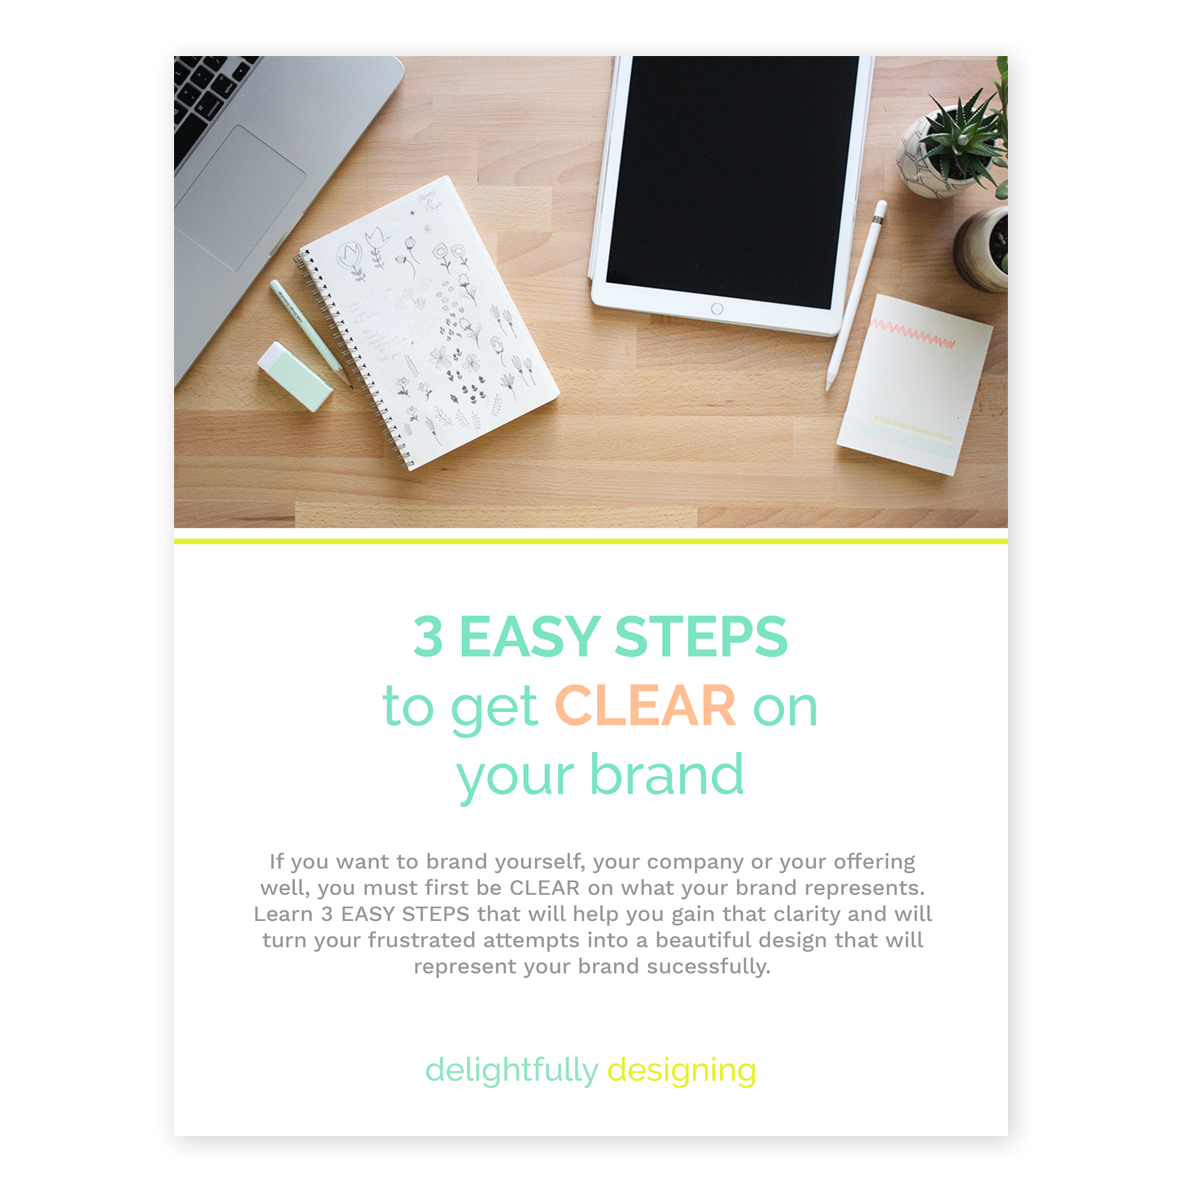
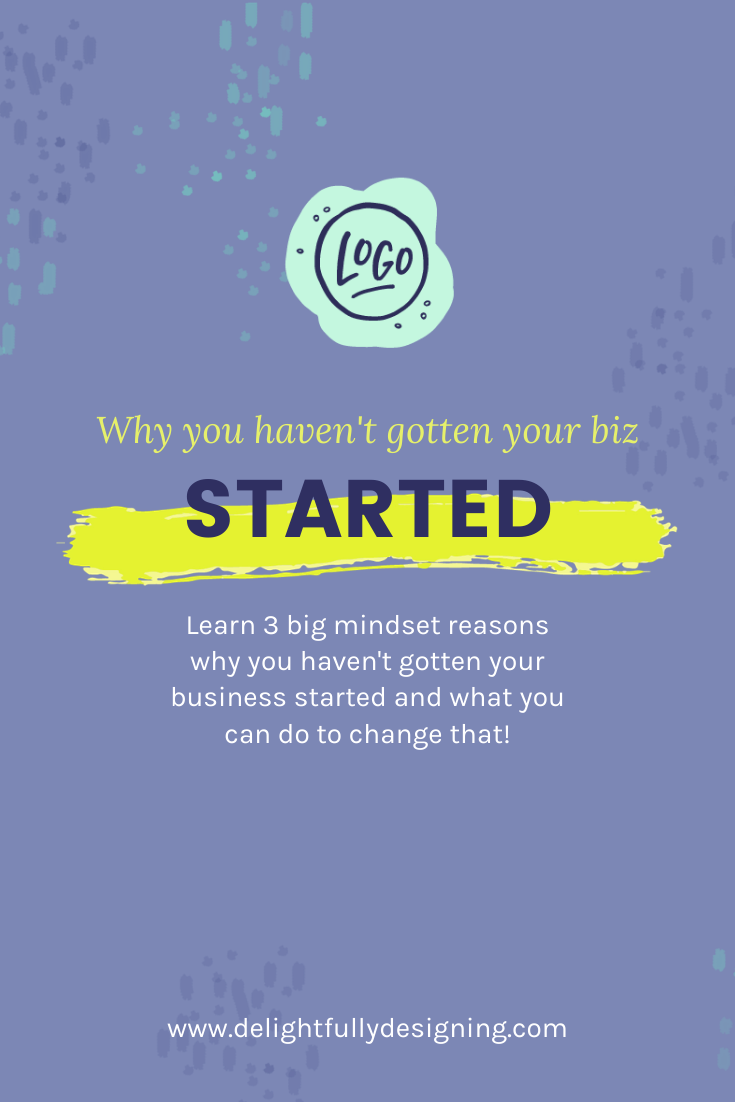
You don’t start off by doing the fun stuff right away. By fun stuff, I mean design, that’s the fun stuff for me. In the beginning, you have to dig deep. Get clear on what your brand represents and who you will serve. So if you haven’t already, download this guide to learn 3 steps that will help you get clear on your brand.
Once you know who you will serve, why and how, it’s a lot easier to design your brand and build a website.
I know I want to help women, specially moms, who are starting or already running a business. Not only do I identify with them as a business owner, I know what it’s like to struggle with parts of your business that you’re not particularly good at. After years of working on it, I have no problem with design and web development. However, I had no clue about using Pinterest, Instagram or Facebook for marketing or advertising. So naturally, I went out and found courses that could teach me about these areas of my business. Then I could learn and implement!
So I have the who and the why, now I need the how.
I know I want to build a community where I can offer my feedback as a professional. I also want other women to comment, offer their feedback and share in the design process of all sorts of different elements like, Facebook Ads, Pins, Instagram posts, opt-in designs, blog designs, web designs, etc. I know it’s easy to get overwhelmed when choosing colors, typefaces and layouts. It’s so much better to get feedback from fresh eyes. So I built a Facebook Group with this in mind that you’re welcome to join if you’d like, just click the image below.
In addition to the community, I want to offer courses. I can teach about my processes for branding, product photography, opt-in building and even when I build a site. The idea is to offer shortcuts to things that have taken me a while to learn so that these wonderful women can build their businesses without having to wait years. So that’s the who, why and how. With that information, I was then able to begin researching my competitors. The plan being, to get an idea of how I want to structure my business. If I hadn’t had a name in mind, I’d research ideas based on how I want to serve these women. Luckily, I already had a name in mind. Since I also knew my audience was women, I already had ideas about the colors and typography as well. So I jumped right into sketching ideas for my logo with a clear picture of the direction I wanted to go in.
Week 2
Once the logo is finalized, the other elements of the brand come much easier.
I wanted things to have a feminine sensibility and to be sophisticated, like the women I want to serve. Simple, clean design with lots of white space and beautiful photos is also a must. However, if you’re anything like me, you don’t have a huge budget to hire a photographer for a fancy shoot.
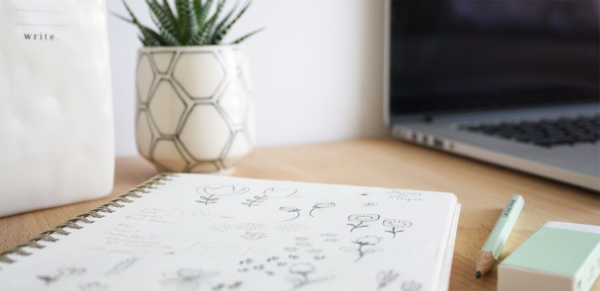
So I gave myself a day to shoot in my studio. I wanted to shoot the things I work with the most and that’s what you see all around this site. Also, I asked my wonderful husband to help with a few shots of me, so you could get to know who I am. Although I’m absolutely terrified of being in the spotlight, he made me feel very comfortable. We were able to get shots that I am proud of! Oh and just so you know, both of these shoots were done in my home, with my kids around, nothing fancy going on.
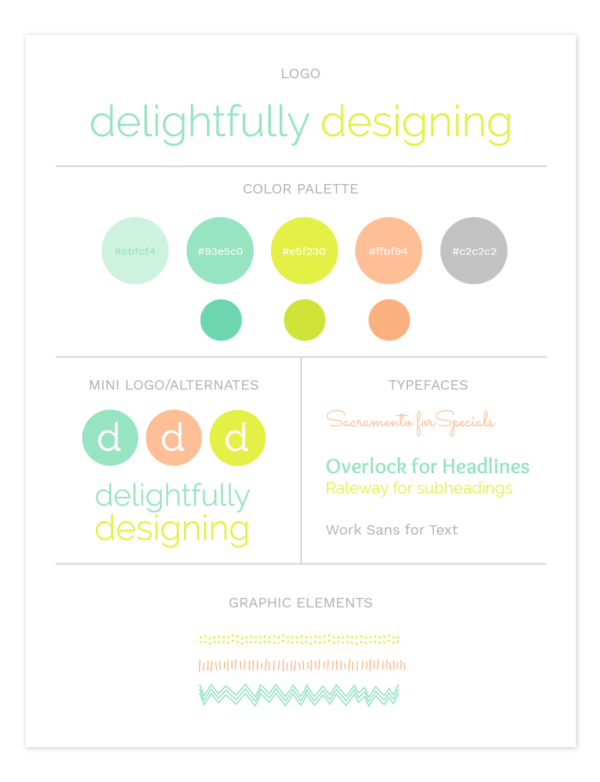
While I was working on photos, I was also busy making myself a style guide.
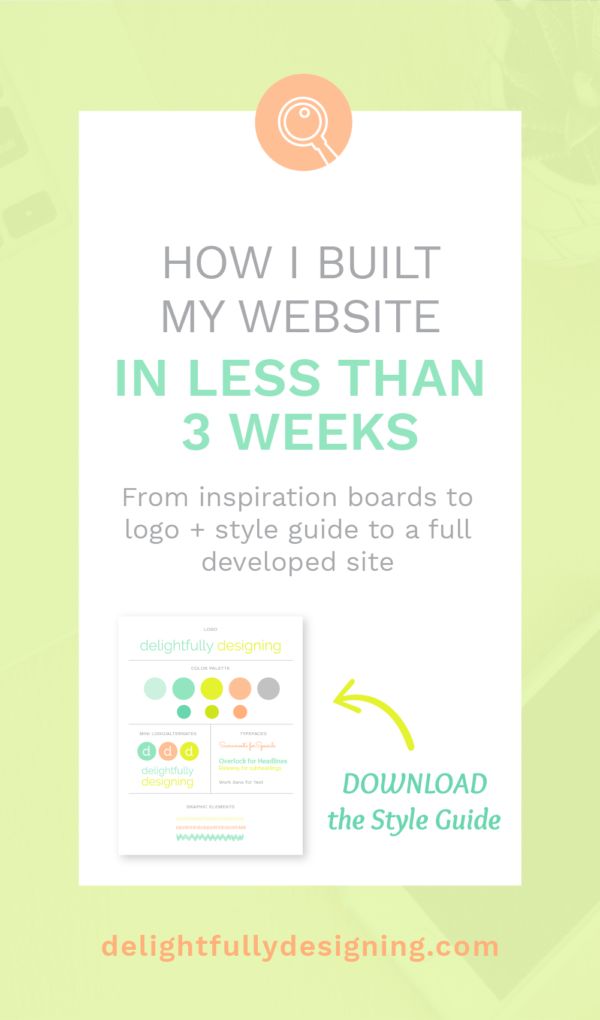
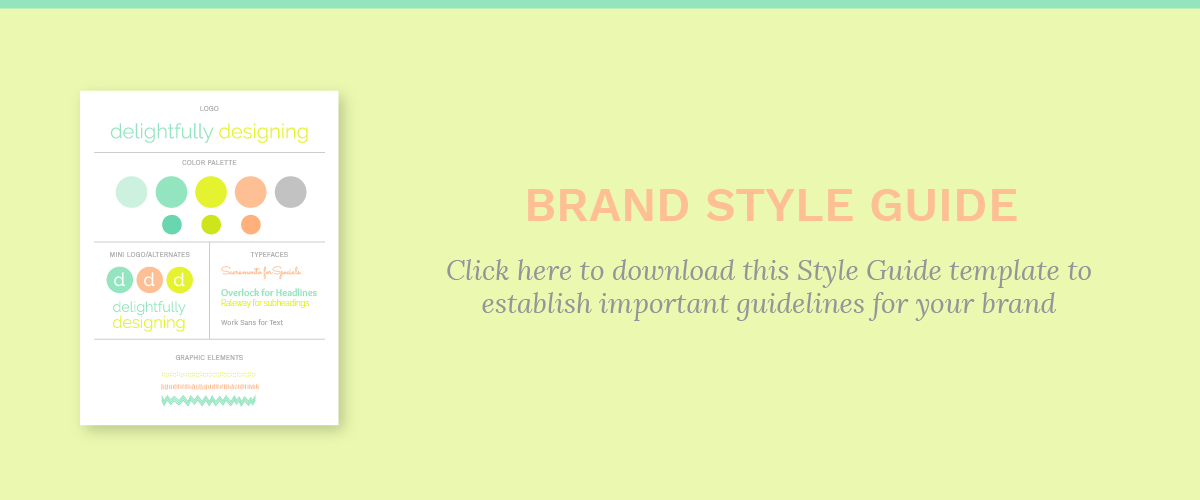
I dropped the logo in and came up with a few mini logos that could double up as an avatar and favicon. Then I finalized some choices on typography. Finally, I made myself this master file you see below and created this template for you to download in case you want to work on your style guide as well.
I also spent time in this second week designing content I had written in the first week to use in my social media when I launched.
Week 3
Now in week 3 it was time to put all that content and designing to work. I had a file with my page layouts and my style guide to help. I was ready to get online and start building.
Part of the reason I can build a site so quickly is due to WordPress. I can’t say enough good things about it. I have an entire system that I use when I’m going to build a site that makes it easy. Having done the research and designing the pages beforehand, that makes it quick.
So I spent this third week building the site and setting up my content. I set up the Instagram account and Facebook page in the first week. Also connected the site to other tools I use like ConvertKit* and Leadpages*.
Related: Visit this page to see more of the tools I use for my business.
It all came together nicely. Honestly, I probably spent the most time on copy. Getting things just right takes time but that’s something you always work on, right?
That’s pretty much how I designed a logo, made my style guide and built and launched my website in just under 3 weeks!
Wondering if it really was under 3 weeks? (I would be too!) You can check out when I opened up my new Instagram account. That’s when it all started and of course, you’re welcome to follow me too! 😉
Hope this post helps you to outline your own content so you can get your website done! If you have any questions post them below. I’ll be happy to help.
Happy Branding,

* This post contains affiliate links, which means that if you click on one of the product links, I may receive a small commission at no additional cost to you. I ONLY endorse products that I have used myself and am very happy with.