
I’m not sure what possessed me to do this in the first place, but about a week ago I became obsessed with speeding up my website.
I read somewhere that your website should load in less than 3 seconds! What?! So I decided to test mine and it was taking more than 5 seconds to load. Not good!
And so the obsession began.
Why is it important to speed up your website?
There are two main reasons why it’s important to speed up your website.
1. You only have a few precious seconds before that person that just landed on your site decides to leave or stay. So making sure your site loads quickly is extremely important.
2. Google now takes site speed into consideration in their algorithm. So if your site isn’t loading quickly enough, it will hurt your ranking.
So you see, this site speed thing, we have to pay attention to it. The good news is, there are a couple of quick things you can do yourself to start improving your load speed.
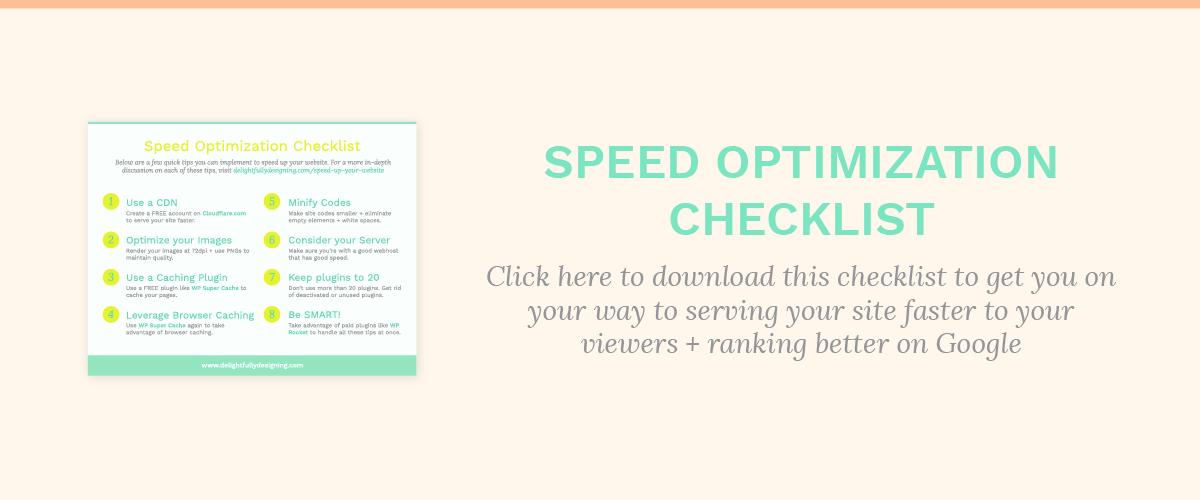
I’m going to go over a few of the tricks I learned and tell you some of my tips for implementation as well. If you want the skinny but don’t have time to read the whole post, just download the checklist below and implement these when you have a second.
So first, go to tools.pingdom.com and put your URL in there and test it out. If you’re over 3 seconds, then it’s time to get to work. If you’re under 3 seconds, then kudos to you! You’re doing really well. For everyone else, have a look at the tips + tricks below.
Tips + Tricks to speed up your website
A lot of things affect the speed of your website, not just the content you’re serving. Things like the server speed and the internet connection play a big role. So these are things you can tackle in a more general way.
1. Use a CDN
A content delivery network (CDN) is a collection of web servers that are distributed across multiple locations to deliver content more efficiently. The server that is selected for delivering content to a specific user is typically based on a measure of network proximity. In essence, the server that is closest to that user will be the one that serves your content.
This one change can make a BIG difference.
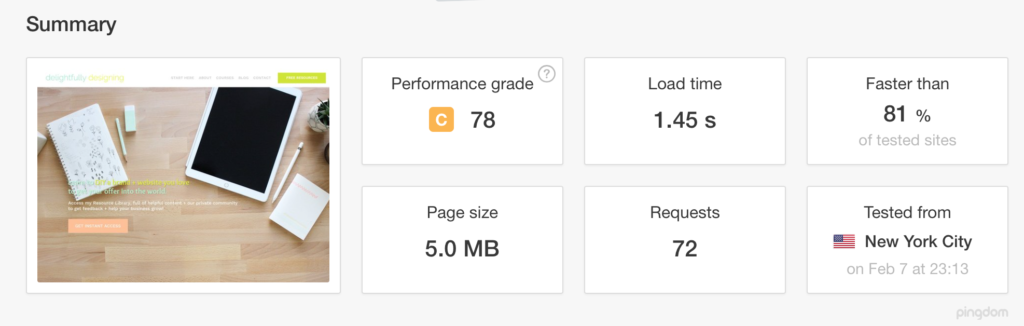
Here’s a print screen I took from Pingdom before I used a CDN and the one after. My speed was reduced significantly!
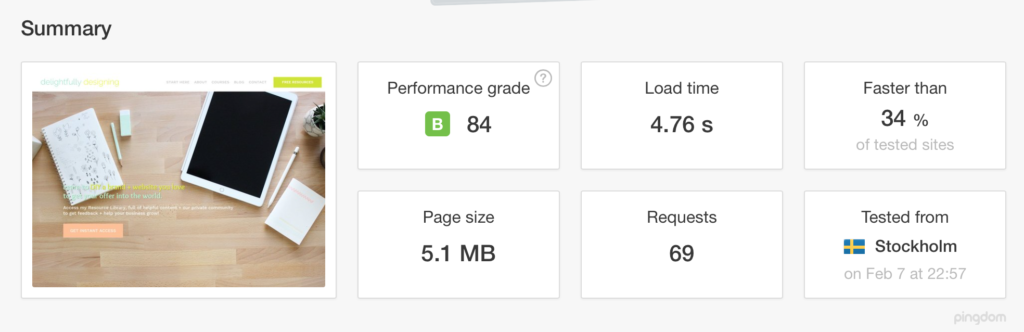
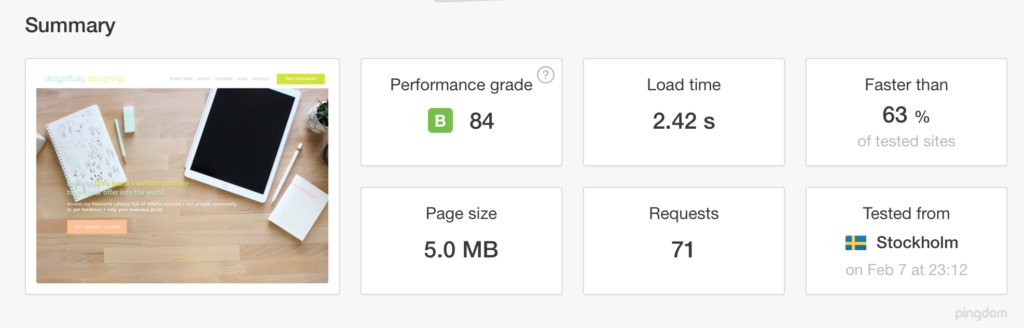
Now both of those tests were run from Stockholm. But you can see the CDN at work when I tested the site from New York, which would mean a server closer to me since I’m in NJ.
Isn’t that amazing?!
Now that we see the value in a CDN, how can you achieve these magical results you say? Well, all you have to do is go to cloudflare.com and sign up for a free account. They’ll walk you through adding your website and then all you have to do is change your name servers to Cloudflare’s name servers.
Once your site is on their name servers, that’s when the magic begins. The whole process takes about 15 minutes. After you change your name servers and Cloudflare tells you you’re on theirs, do yourself a favor and ping your site again on Pingdom. You’ll feel like you’re making progress.
2. Optimize your images
This is a big one guys. Your images play a HUGE role in your website load time. My site is pretty image heavy. I have lots of graphics in here and I tend to load images that are larger than I need because I absolutely hate it when things pixelate. This was bloating my site and affecting speed.
I believe when I started, my site was about 10MB which is pretty huge. I’ve got it down to 5MB, which I think is still considered big but is half way from where I started. As a designer, there has to be a compromise between size and quality. I’m ok with a larger site if it means that the quality of the images isn’t compromised.
With all that said, you still have to optimize your images for the web.
These are my tips to make them lighter:
- I render them at 72dpi. This is screen resolution and the smallest there is. Since your site won’t be printed, your images can be set at 72dpi.
- I render my images as PNGs. PNGs are not compressed like JPGs and they look much better for it. JPGs just look terrible because they’re so compressed. You can definitely try and see if JPGs work for you. I’ve tried and I just don’t like how they render, so I stick with PNGs.
- The trick to making sure things don’t pixelate is to make them slightly larger than they need to be. I know this goes against the whole “making the site smaller and faster” thing we’re talking about, but we also have to consider quality. If you have a placeholder for an image that is 240px X 300px, make the image slightly larger, maybe 290px X 363px. To make sure the image isn’t distorted, make sure you keep the image ratio. Making it slightly larger means the image will be reduced to fit your placeholder and that means it’ll look sharp. I’ve found that if it’s exactly the same size as the placeholder, it pixelates.
If you already have a lot of images on your site, you don’t want to go through each image and re-upload, that’s just insane. So you can use a plugin like WPSmush.it which will resize, optimize and compress all of your images. I’m very picky about how my images are handled so I like to do that myself, but this is a very handy plugin for bloggers that have been blogging for a long time and have lots of images to go through.
In addition to optimizing the images that were to remain on the site, I removed all unnecessary images from my pages, specifically the home page. I had an Instagram plugin that was loading all my images from Instagram onto my site and slowing the site down quite a bit. I can live without it so I got rid of it and shave off some loading time.
You have to find what things you can live without and try to optimize your site the way it works for you.
3. Use a caching plugin
This is another really important one. Taking advantage of your cache is a very smart thing to do when you want to speed up your website. The cache is basically a place where your website stores information from your site so that when a user comes back to visit your site again, it will load faster.
The caching plugin I’m using now is WP Super Cache. I like that I can turn it on and off because when I’m making updates to the site, I need it turned off so I can see the changes. This plugin also allows you to take care of the next item on the list.
4. Leverage Browser Caching
This is a little more confusing than just simply caching a page. Basically, you’re caching your browser with headers that tell the browser if it can fetch a resource it needs to load from the source or from the cache. That sounds pretty confusing. Essentially, you can tell the browser, these things aren’t going to change for 1 month, so you can use the cache. These can be things like images on your site that are static and you know won’t be changing.
WP Super Cache also allows you to cache your browsers along with a slew of other types of caching. I noticed a big improvement when I started using WP Super Cache.
5. Minify codes
Another thing that helps reduce load time is reducing your coding. HTML comments, spaces and empty elements will help to reduce the size of your files and will help them load faster. You can go to your code and do this, but of course, there is a plugin that can take care of it for you as well. Autoptimize can optimize and compress your codes and if you’re not on WordPress, there are online tools like Will Peavy minifier that can do the job for you.
6. Consider your Server
This is usually one of the first tips on other sites. The only reason I’m mentioning it toward the bottom is because if you’re like me, you don’t want to go changing your server right now. What. a. drag!
Changing your site to a faster server will obviously making it faster. The problem is, faster servers and dedicated servers are more expensive. As small businesses, we’re trying to find a good balance between optimizing our sites and keeping money in our pocket. I’m guessing you chose the host you’re on because it worked for your budget. So if I were you, and I am, I’d try all these other tips first. See where they get you and if you just need more speed, then consider getting a more customized hosting plan with a better server.
I was able to significantly speed up my site without switching servers for the time being. However, that may be something I have to consider later on when my site grows.
If you’re just starting out and haven’t settled on hosting yet, check out these tips on choosing a hosting service.
7. Optimize your site with the least amount of plugins
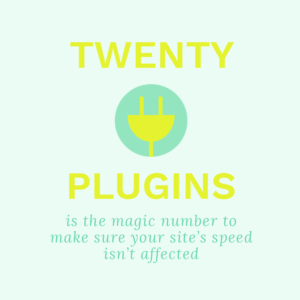
Yesterday I shared an image on Instagram that mentioned the ideal number for plugins is 20. In my research to find ways to optimize my site, I read that you should not go past 20 plugins if you can help it. Plugins add extra code that you can’t control onto your site and that slows your load time. So of course, I immediately went into my site and started to evaluate what I needed.
Any plugins that are inactive, should definitely go right away.
I ended up removing my Google Analytics plugin because while it’s nice to be able to see the analytics without signing in to a separate site, the truth is I can sign on to a separate site and see much more than the plugin offers. For some reason, the plugin also kept giving me errors so I got rid of it.
I also removed that Instagram plugin I mentioned earlier. Pulling the images from my Instagram account onto my site slowed my site down and I read recently that it might not be in our best interest to feature our social media accounts so prominently on our site because the idea is to keep people ON OUR SITE. Lightbulb moment!
So now, you should go to your site and see what you absolutely NEED to keep and what you can chuck out.
8. Be smart
You can also look at plugins that do more than one job at a time. So although you’re potentially adding one more plugin to your precious list, it should be one that can take care of multiple things at once.
One such plugin I read about is the WP Rocket Plugin. This is a paid plugin that I’m considering. It seems to handle most of the tips I’ve mentioned to you above and a lot more that I’ve steered clear of myself because it’s a lot more complicated work.
Features that I like about it:
LazyLoad – this isn’t a feature exclusive to them but rather a way to load your images as they’re needed rather than all at once. If you load your images as they’re needed, your site loads much faster.
Database Optimization – again, something you can do on your own but who really wants to? If you clean up your database and optimize it, guess what? Your site will load faster.
Remove Query Strings from Static Resources – Huh? Exactly! Basically, there are requests your site makes that have a ? mark in the link. This means that query can’t be cached. The answer is to remove that question mark, but how do you even do that? Do you know PHP? Didn’t think so. Rather than break my entire site, I’d be happy to let these guys handle this.
Things that we talked about that they handle:
Minifying your code
Optimizing your Images
Page Caching
Browser Caching
CDN
Cloudflare Compatibility
So you get the idea, it’s an amazing plugin. The good news is, it’s only $39 for the year. I’d say that’s worth it to not have to do all this nonsense yourself. I spent a weekend working on all the tips I gave you and I got my site to load considerably faster but there are things that I still haven’t been able to correct that I know would make it load even faster. That’s why I’m considering this plugin and when I get it, I’ll tell you all about it!
In the meantime, try all these tips out. I made this checklist with you in mind, a regular person like me who doesn’t want to mess with too much code. Because why?
So spend a little time. Clean up your plugins. Optimize those images. Grab a caching plugin and put yourself on a CDN. It’ll make a difference and give you some time to think about graduating to something like WP Rocket.
Hope this has been helpful and don’t forget to grab the checklist so you know what you have and haven’t done. This is serious work folks so make sure you get yourself organized before your start! 🙂
Enjoy!


